
Photographing documents, books, writings and sharp photos
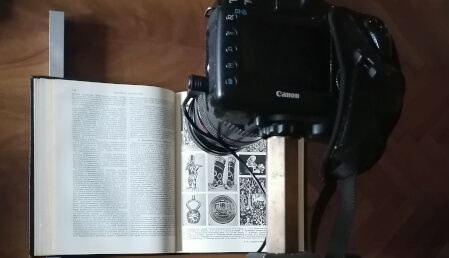
While obtaining a copy of documents, I often encountered the impossibility of lending them home and scanning them. Whether it was due to concerns about distant relatives or other reasons. Since the camera is already a common part of each of us in our mobile phones, I was toying with the idea of how to use this option and get scans of documents to myself. Moreover, if I use a camera with sufficient resolution, I can take a picture in significantly less time than when scanning. If the document in question is a book, I don't have to constantly lift the document and turn the page, but just leaf through and press the wire shutter. Then from time to time I check to see if the document is in focus or the book is supported so that its spine does not break. Even though I did not use mobile phone photography, it is possible to make a fixture for attachment. I use my Canon 5D MK II camera, to which I can attach various attachments, reductions and other accessories, including those made by me.
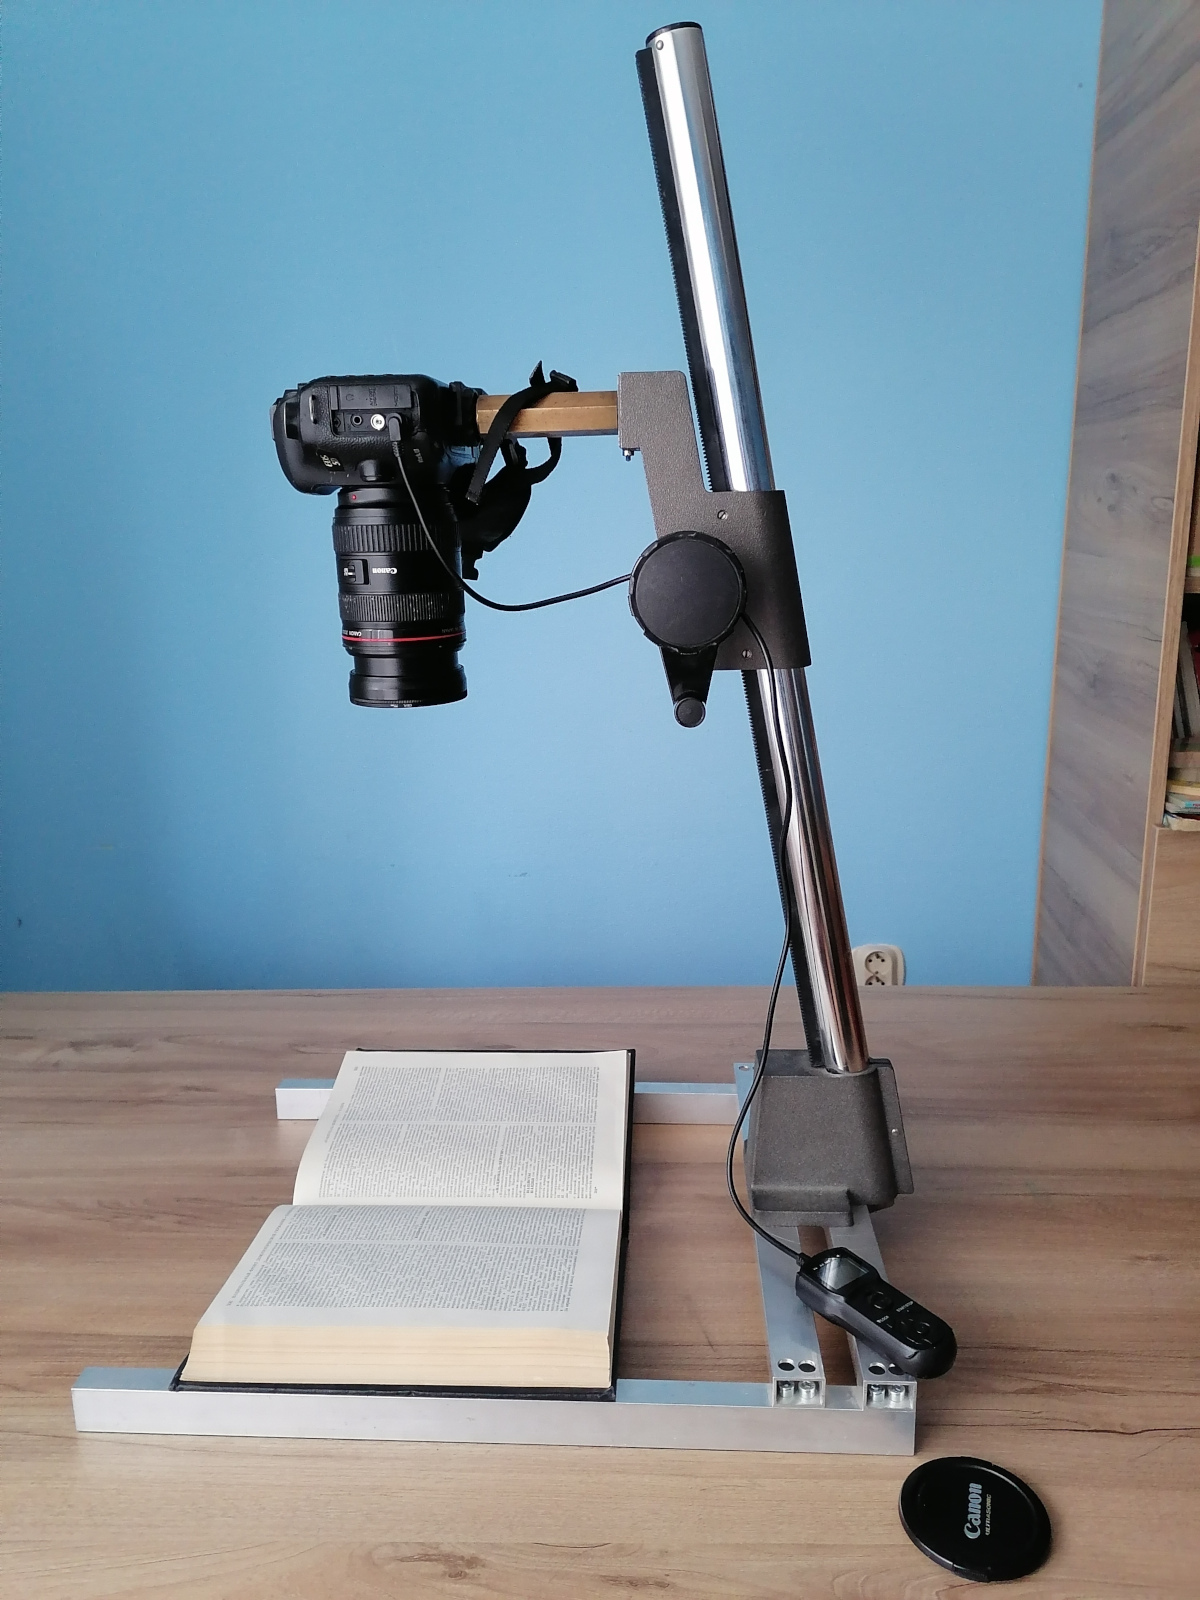
I thought of using a ramp that holds the head of a Meopta photo enlarger and made a adapter to attach the camera to it. The adapter has a circular dovetail groove on one side and a camera thread on the other. I attached a wire trigger to the camera so that I could take photos of documents continuously from a sitting position for hours if necessary. The only thing I still have to prepare for is back pain.
The quality of the image obtained depends on several factors. These are the camera used, the lens, the curl of the document, the lighting. I recommend a camera with a minimum resolution of 10 megapixels. In the case of taking photos, 16 megapixels with uncompressed RAW format recording turned on. Use JPG only if you do not need to process the scans further. As for the lens, I use a zoom 28-70, but I have to stop it down because it does not have a good drawing at the edges. I therefore recommend using fixed glass "as they call a lens without a zoom" 35mm or 50mm. These have a nicer drawing with minimal deformation even when using extension rings. Of course, a macro lens can also be used. If the document is curled so much that it cannot be focused by closing the aperture, I recommend covering it with glass. In this case, however, I recommend the same procedure as for taking photographs.
By rotating the bracket 180 degrees, it is possible to photograph documents up to A0 size, such as plans and maps. In this case, the object is placed on the ground and the camera is placed on a table.
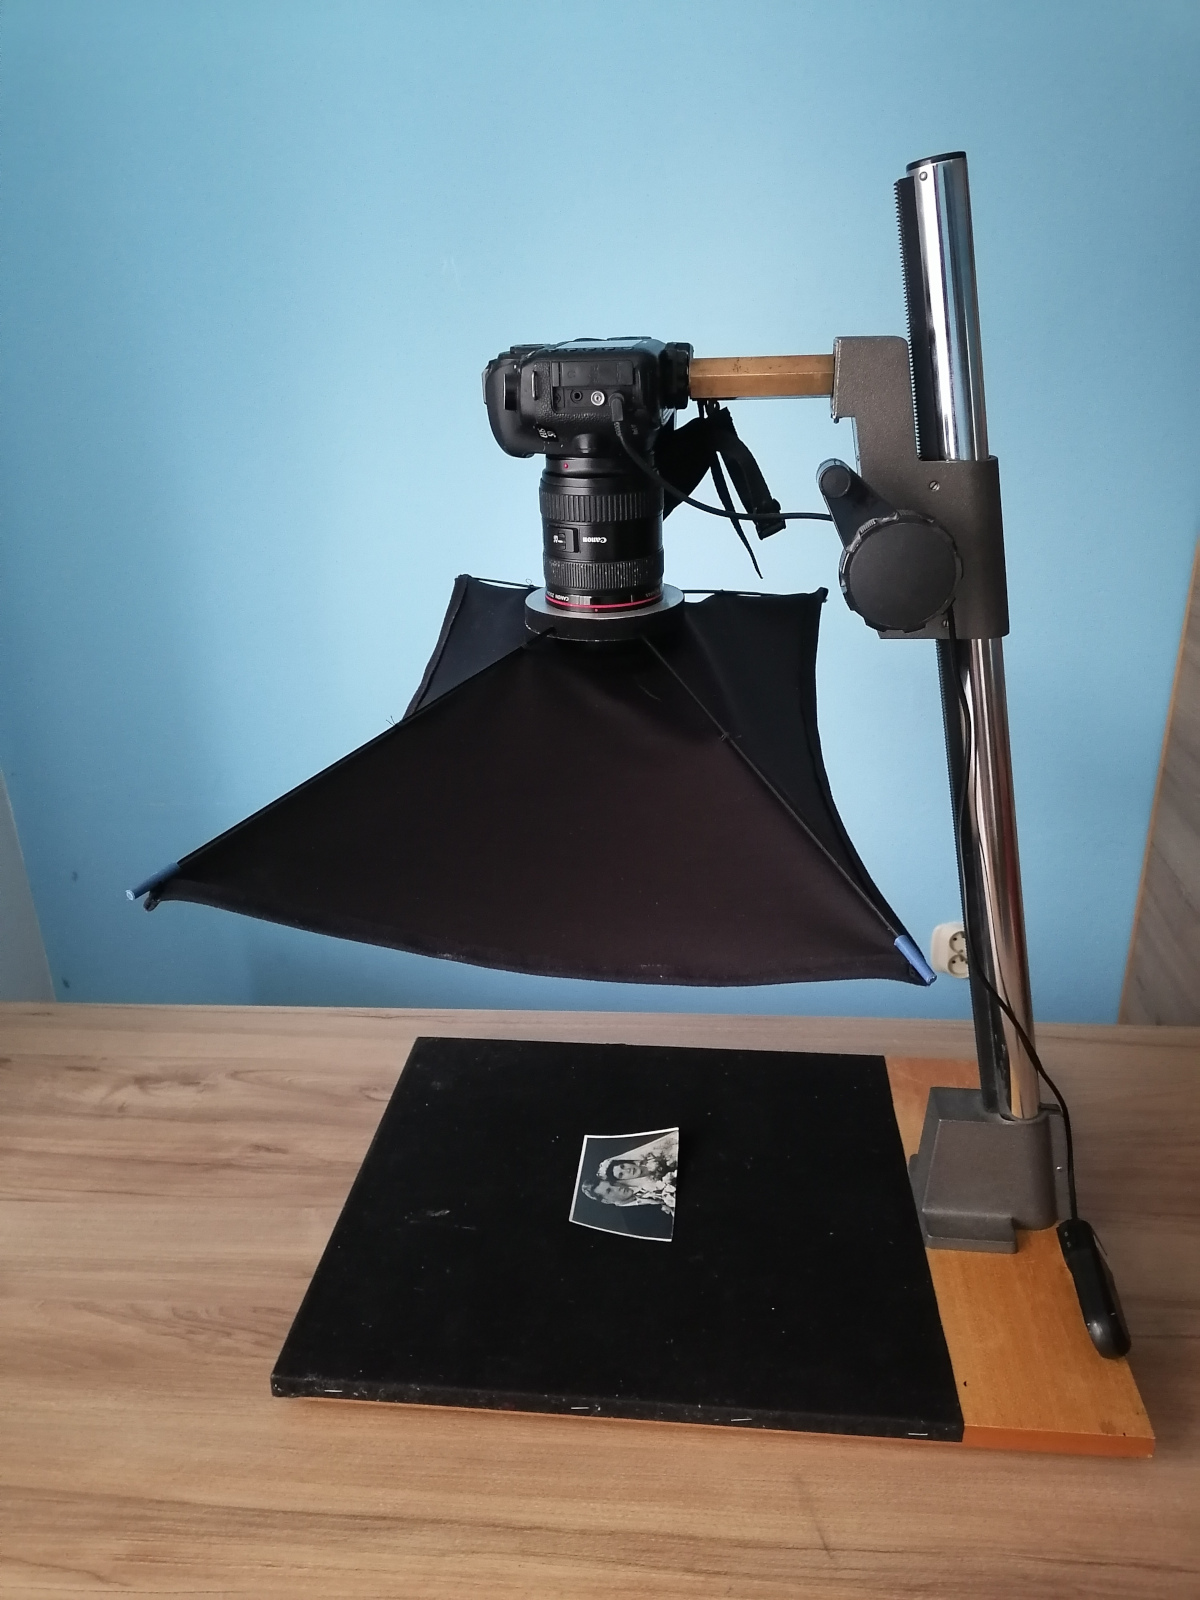
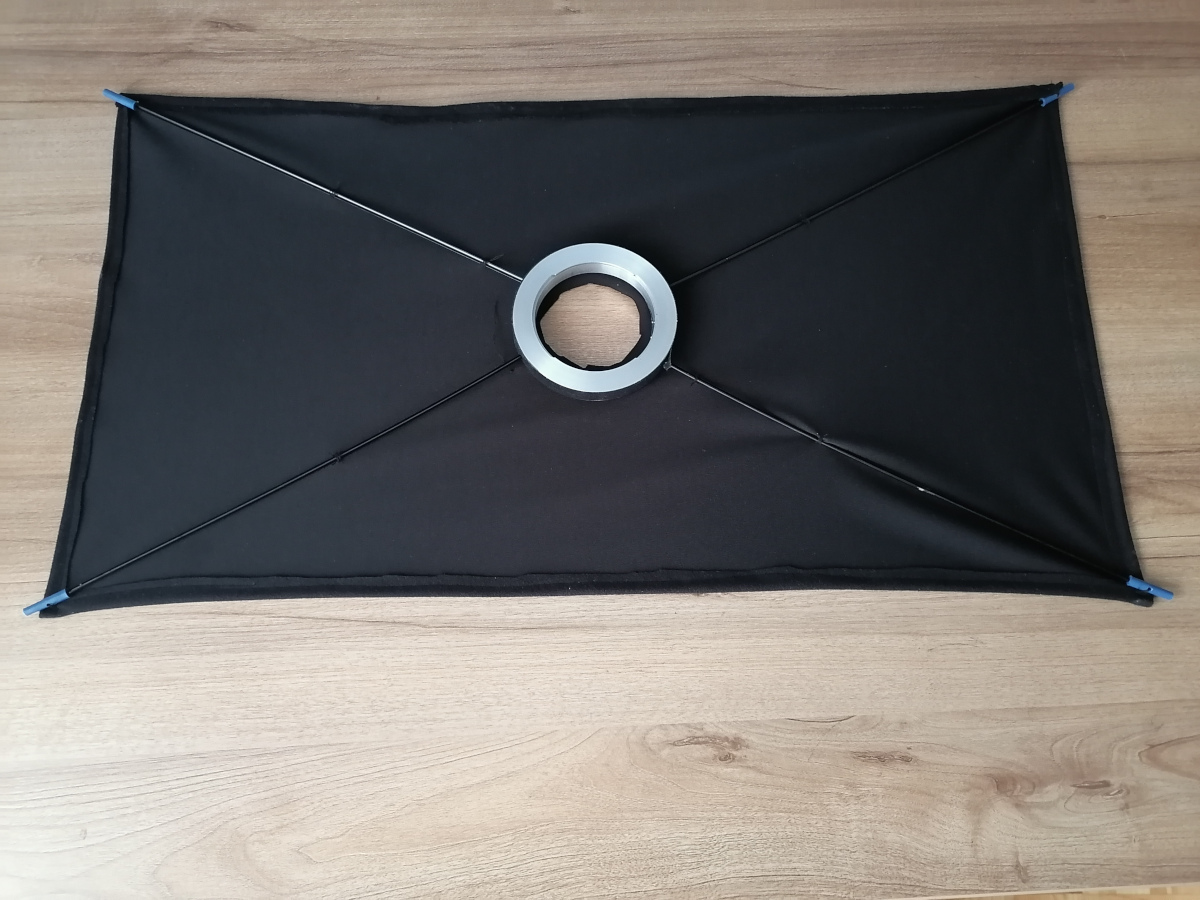
In the case of scanning photos, the procedure is a bit more difficult. Compared to paper documents, where there is no risk of glare, photos are sensitive to them. Only some can be suppressed with a polarizing filter, so I helped myself by shading. I put the photos on a mat covered with black suede. If the photo is very wavy, I weigh it down with a sheet of clear glass. In place of the original tree frog, I made a holder of black cloth that supports the rays from a discarded umbrella. The shade made in this way suppresses the parasitic light that comes from the camera at a small angle. Moreover, if I take old photos that have not been in the fixer long enough and rinsed and have faded black areas, they darken.
If you don't have enough light when taking a photo, it doesn't matter. The photo won't be shaky even with a longer exposure. But if necessary, you can evenly illuminate the sides so that you can use a lower ISO and have less noise.
Aktualizácia 20.1.2024